
Ambush tactics in ARC Raiders turn unfavorable fights into guaranteed kills. Patience and preparation create devastating ambush opportunities. This guide teaches ambush setup and execution for maximum impact.
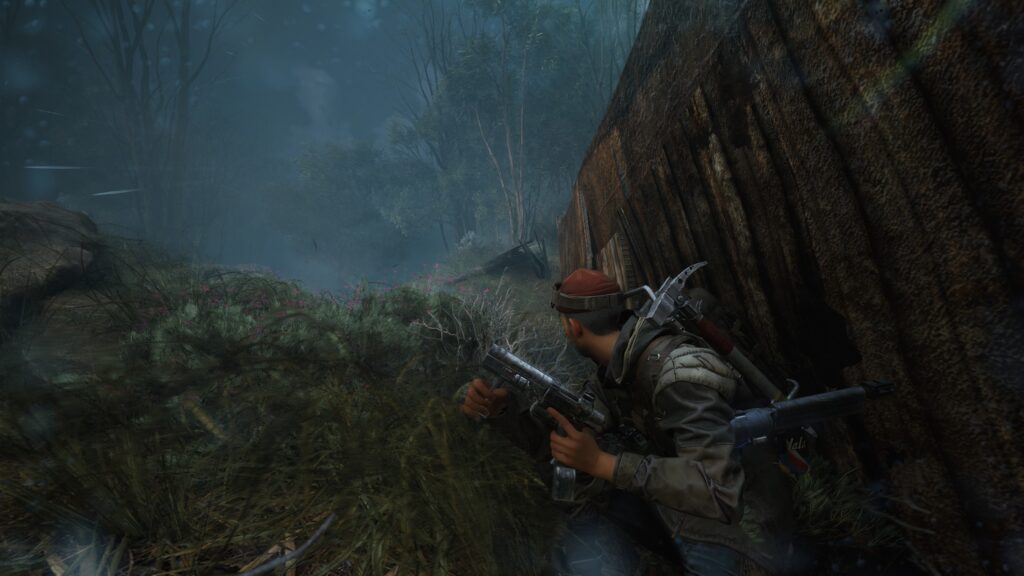
Ambush Site Selection
Location determines ambush success more than execution. The table below rates ambush location characteristics:
| Factor | Ideal | Avoid | Importance |
|---|---|---|---|
| Cover Quality | Hard multiple angles | Single soft cover | Critical |
| Escape Routes | 2+ options | One path | High |
| Enemy Approach | Predictable path | Multiple routes | High |
| Visibility | You see them first | Equal visibility | Medium |
| Sound Masking | Environmental noise | Silent area | Medium |
Preparation and Setup
Thorough preparation separates successful ambushes from failures. Arrive at ambush site before targets. Place utilities strategically covering approaches. Pre-aim kill zones where enemies appear. Verify escape routes remain clear. Patience during setup prevents detection. Rushed ambushes fail consistently.
Timing the Strike
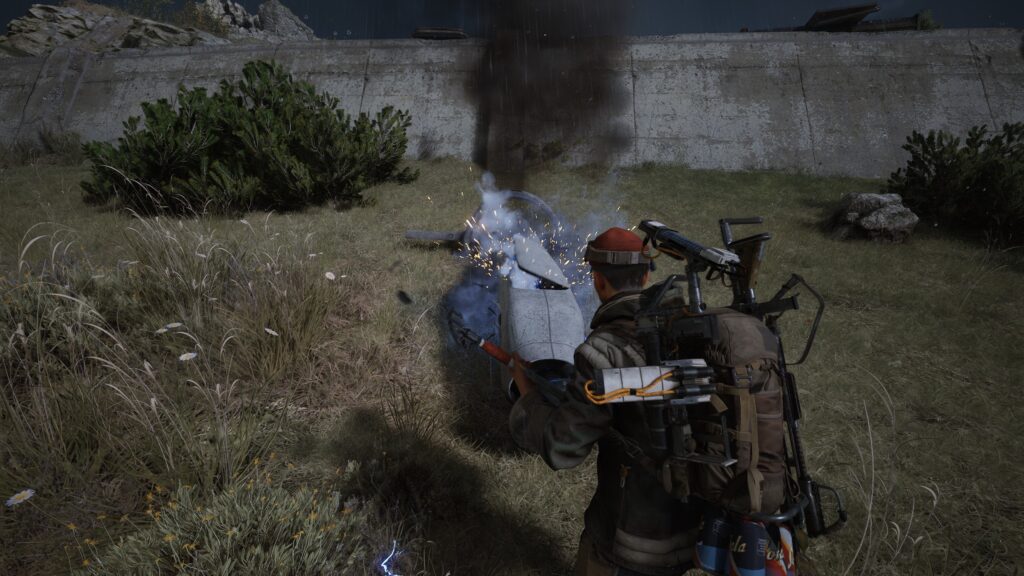
Perfect timing maximizes ambush devastation. Wait for optimal enemy positioning. Allow maximum enemies into kill zone. First shot initiates coordinated attacks. Simultaneous fire overwhelms instantly. Hesitation allows enemy reaction. Commit fully once ambush triggered.
Utility Integration
Utilities amplify ambush effectiveness significantly. Mines block escape routes automatically. Grenades punish clustered enemies. Smoke enables repositioning or escape. Tripwires provide timing warnings. Layered utilities create kill zones. Smart utility use doubles ambush power.
Post-Ambush Actions
Immediate actions after ambush determine net gain. Loot quickly but efficiently prioritizing valuables. Check all bodies for useful items. Relocate immediately after looting. Secondary ambushes target responders. Avoid staying in compromised positions. Successful ambush followed by death wastes opportunity.
Counter-Ambush Awareness
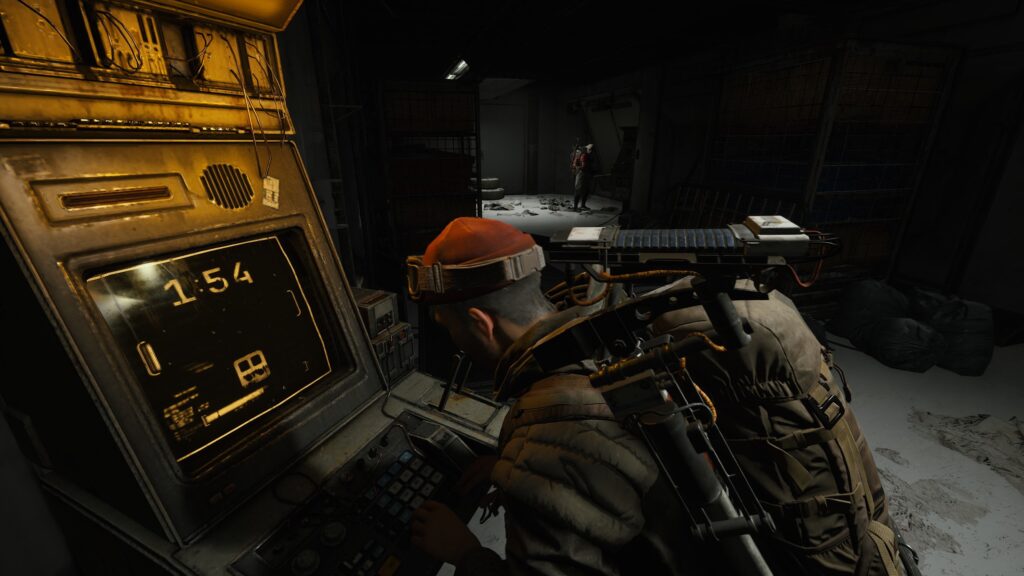
Ambush predators must avoid becoming prey. Recognize common ambush locations. Scout ahead before entering danger zones. Listen for utility placement sounds. Vary movement patterns unpredictably. Counter-ambush skills improve ambush setup. Understanding both sides creates mastery.
Team Ambush Coordination
Coordinated team ambushes achieve maximum devastation. Assign firing sectors to teammates. Synchronize initiation signals clearly. Support players handle utilities. Designated looters maximize efficiency. Communication enables complex ambush patterns. Team ambushes outperform solo attempts significantly.

Greetings, fellow gamers! I am Cameron Fisher, an intrepid gaming journalist fueled by a relentless pursuit of immersive experiences. As I navigate the ever-evolving landscape of video games, I become an explorer of virtual realms, unearthing captivating narratives and pushing the boundaries of interactive art. With an analytical mind and a penchant for creative expression, I dive into the heart of gaming culture, shedding light on the diverse perspectives and vibrant communities that make this world so extraordinary. Join me on this thrilling quest as we unravel the secrets, celebrate the triumphs, and uncover the true essence of gaming.
- Latest Posts by Cameron Fisher
-
Decoding Arc Raiders Complex Map Icons: A Complete Guide to Waypoints, Hazard Zones, and Extraction Markers
– -
Top 10 Fatal Mistakes Beginners Make in Arc Raiders (And Exactly How You Can Avoid Dying to Them)
– -
How to Form a Squad, Utilize Comms Ping Systems, and Survive Co-op Drops in Arc Raiders Matchmaking
– All Posts
Leave a Reply